8 Photo Mistakes That Make Sunrise Shots Look Flat

You woke up at 2 AM.
You got dressed while everyone else was sleeping.
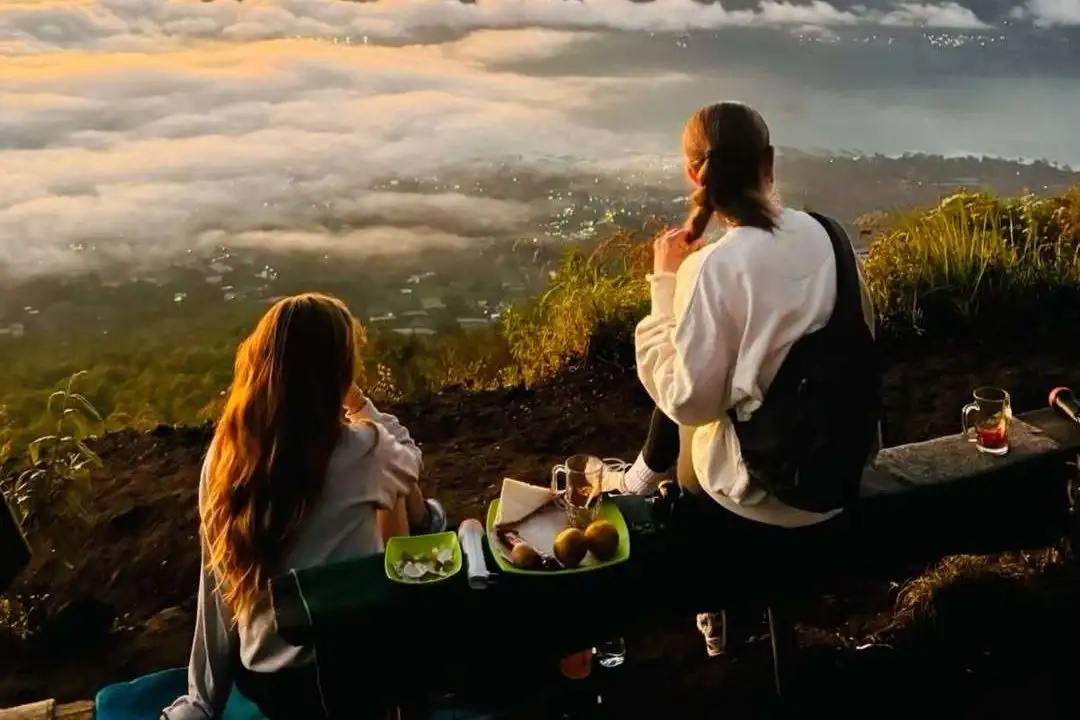
You made it to Mount Batur before sunrise.
You waited for the sky to change.
Then you checked your phone and thought:
“Why does this look nothing like what I saw?”
Welcome to sunrise photography.
The good news is that your camera is probably not the problem.
Sometimes, the difference between a memorable Mount Batur sunrise photography shot and a completely flat-looking photo comes down to small mistakes that are easy to avoid.
You do not need expensive equipment or complicated sunrise camera settings to improve your results. You need to pay attention to light, composition, timing, and the conditions around you.
Here are eight common mistakes worth checking before you press the shutter.
1. You Forgot to Clean the Lens
This one is almost embarrassing.
You spend the entire morning looking for the perfect composition.
You photograph the sunrise.
You photograph your friends.
You photograph the mountain.
Then you look at the pictures later and everything has a strange haze.
Before blaming the weather, check your lens.
Your phone camera may have fingerprints from:
- Your pocket
- Sunscreen
- Food
- Your hands
- A previous photo session
- Someone else borrowing your phone
A dirty lens can reduce contrast and make bright areas look hazy.
The Simple Fix
Before the trek, wipe your phone or camera lens with a clean microfiber cloth.
Do it again if necessary.
It takes a few seconds.
That is much easier than spending an hour wondering why your supposedly amazing sunrise looks like it was photographed through a bathroom window.
For phone photography Bali travelers, this is especially important because smartphones spend most of the trip in pockets, bags, or hands.
Clean lens first.
Fancy editing later.
2. You Let the Sunrise Become One Giant White Blob
Sunrise photography has a difficult relationship with exposure.
The sky can be dramatically brighter than the landscape.
If you simply point your camera toward the brightest part of the sky and shoot, the result can lose detail.
The sky becomes extremely bright.
The landscape becomes dark.
And the entire image can look flat.
This is where basic exposure control becomes useful.
You do not need to become a professional photographer overnight.
On a phone, try tapping the brighter part of the scene and adjusting the exposure slider slightly if the highlights look too bright.
On a camera, keep an eye on your exposure rather than blindly trusting automatic settings.
Your goal is not necessarily to make everything equally bright.
Sometimes a slightly darker foreground creates a much stronger sunrise image.
Do Not Over-Edit It Later
Another common mistake is trying to recover everything in editing.
Highlights are pulled down.
Shadows are pushed up.
Saturation goes higher.
Contrast goes higher.
Then the mountain somehow looks radioactive.
Keep it natural.
The sunrise is already doing the interesting part.
Your job is to capture it without destroying the atmosphere.
3. You Ignore the Foreground
This is one of the biggest reasons Mount Batur photo tips can make such a difference.
You see the sky.
You see the mountain.
You press the shutter.
But there is nothing interesting in the front of the frame.
The result?
A lot of sky.
A distant landscape.
Not much else.
Try adding something in the foreground.
It could be:
- The trekking trail
- Volcanic rocks
- Your shoes
- A person
- A backpack
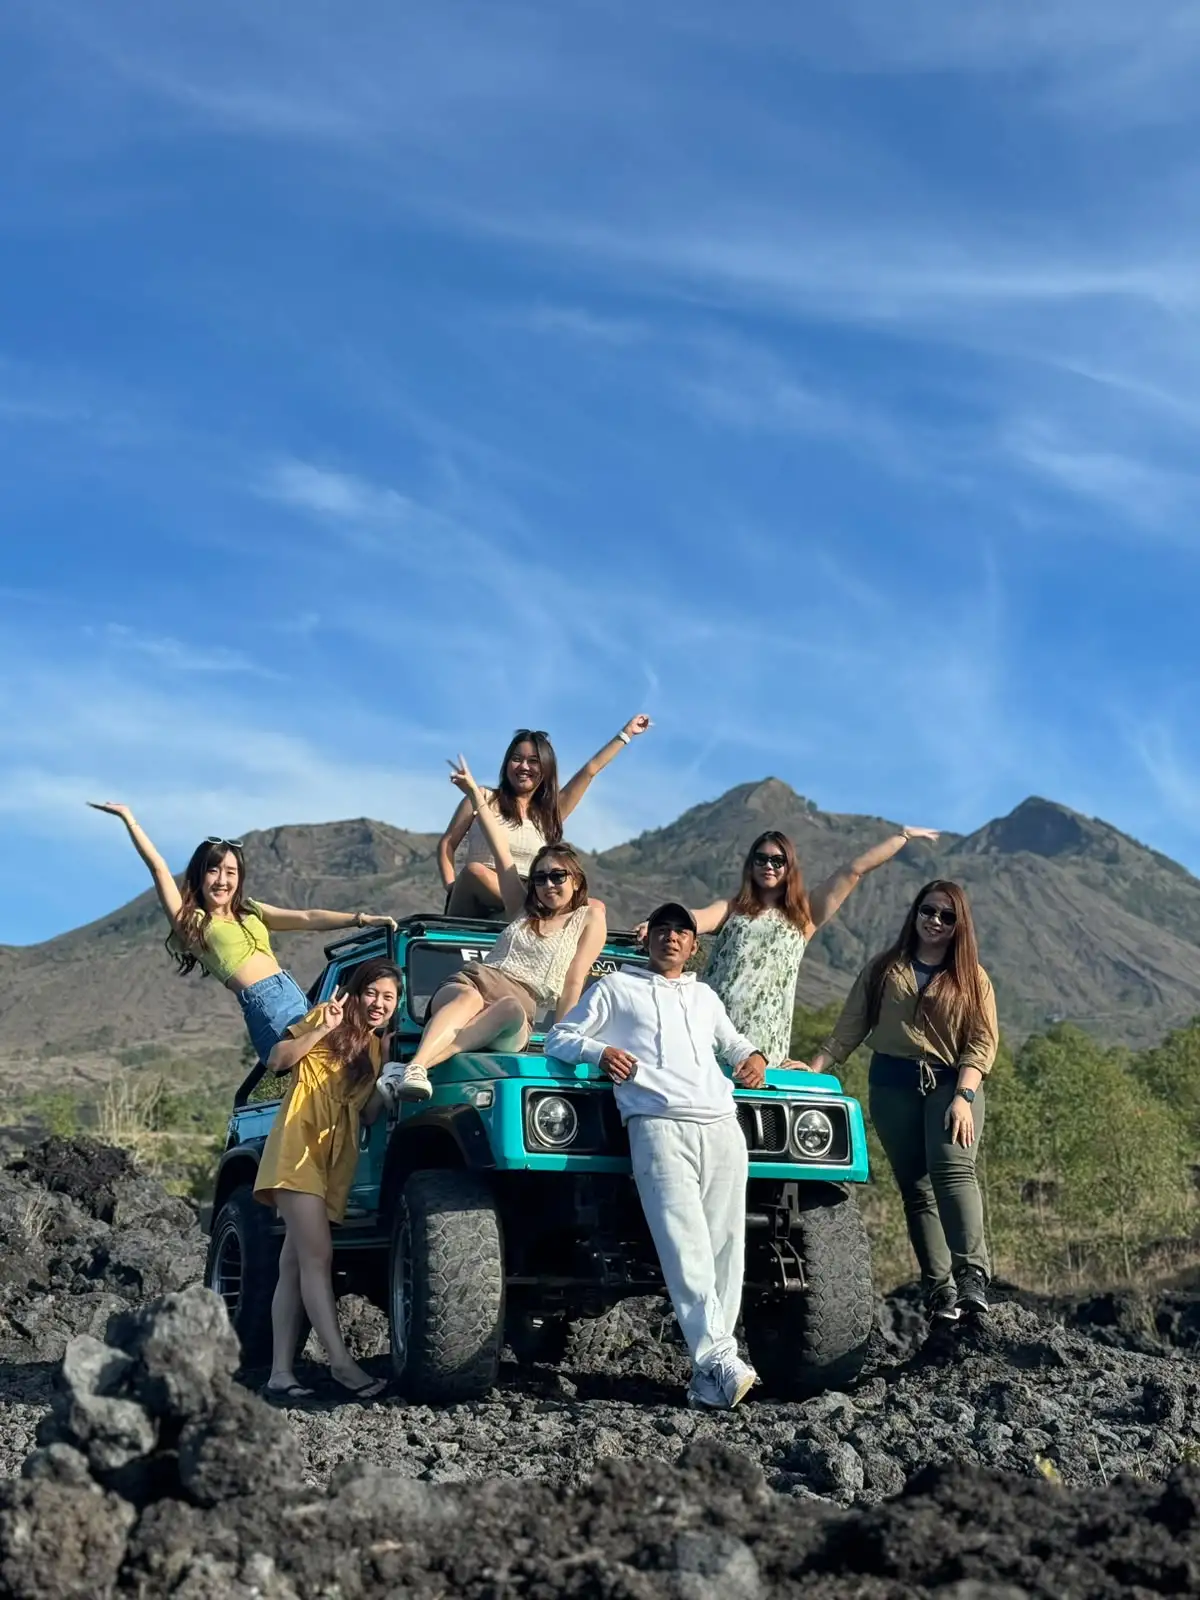
- The jeep
- Volcanic textures
- Another natural element
The foreground gives the viewer somewhere to enter the photograph.
It also creates depth.
Instead of:
sky → mountain
you can create:
foreground → landscape → sky
That simple change can make a photograph feel much more three-dimensional.
Use the Trail
If you are trekking, look for a section where the trail leads toward the landscape.
The path can become a natural line through your composition.
You do not need to stand in the middle of the trail.
Simply find a safe position where the trail contributes to the image.
And always follow the guide's instructions about where you can stand.
4. You Take the Photo at the Wrong Moment
“Sunrise” is not one single moment.
The light changes continuously.
The sky before sunrise can look completely different from the sky several minutes later.
Then the sun appears.
Then the landscape changes again.
If you only take one photograph, you are leaving most of the possibilities untouched.
For Mount Batur sunrise photography, try taking photos at different stages:
Before Sunrise
Look for:
- Dark silhouettes
- Headlamps
- Deep blue tones
- Trekking trail
- Early morning atmosphere
As the Sky Brightens
Look for:
- Changing colors
- Mountain layers
- Clouds
- Silhouettes
- Wider landscapes
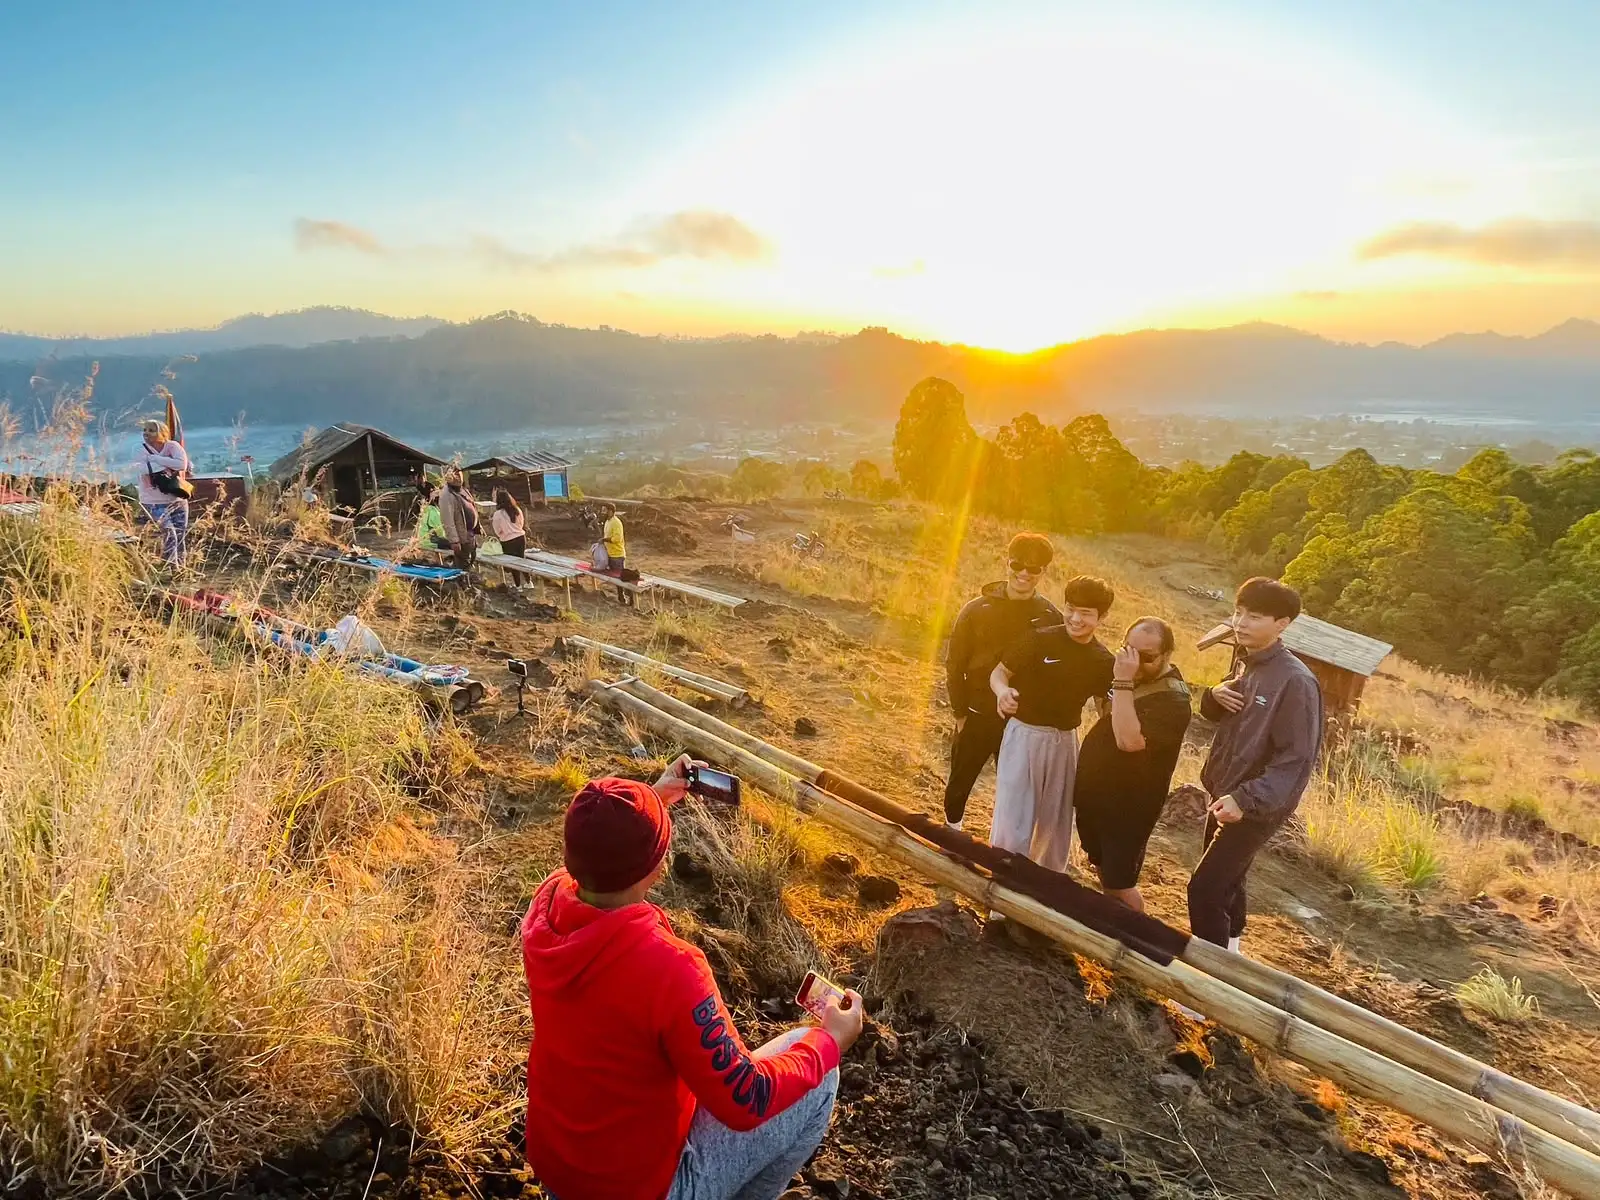
Around Sunrise
Look for:
- Light hitting the landscape
- Sun position
- Long shadows
- People reacting to the view
- Warm tones
After Sunrise
Do not immediately put the camera away.
The landscape can continue changing as the light becomes stronger.
Sometimes the photograph you like most is the one taken after the moment everyone was waiting for.
5. Your Video Looks Like It Was Shot During an Earthquake
Photos can hide small movements.
Video cannot.
You record the sunrise.
Then replay it.
The entire horizon is moving left and right.
Congratulations.
You have accidentally created a Mount Batur adventure film called Why Did I Forget to Hold My Phone?
Shaky video is one of the easiest mistakes to avoid.
Keep It Simple
If you are filming with your phone:
- Hold it with both hands
- Keep your elbows close to your body
- Move slowly
- Avoid unnecessary panning
- Use a stable surface when appropriate
- Take shorter clips
You do not need a cinematic drone shot.
A stable 10-second clip is often more useful than a 60-second video that makes everyone slightly dizzy.
If you have a tripod or compact stabilizer and it is practical to carry, it can help.
But remember that you are also trekking or traveling through outdoor terrain.
Do not let your equipment become more complicated than your trip.
6. Your Battery Dies Exactly When the Sky Looks Perfect
This is not a photography mistake.
It is a preparation mistake.
And it happens all the time.
You arrive with 8% battery.
You take some photos.
You record a few videos.
You check Instagram.
You use Google Maps.
You message your family.
Then:
2%
The sky starts changing.
1%
You see the perfect composition.
0%
Black screen.
Your Mount Batur photography career has ended.
Charge Everything the Night Before
Before leaving your hotel:
- Charge your phone
- Charge your camera
- Charge your power bank
- Check your camera battery
- Check your memory card
- Delete unnecessary files if storage is full
A small power bank can be particularly useful for phone photographers.
If you are carrying a camera, consider bringing a spare battery if you have one.
And perhaps most importantly:
Do not spend your entire pre-sunrise wait scrolling through social media.
You came to photograph Mount Batur.
Not to photograph yourself looking at Instagram.
7. Your Frame Is So Crowded That Nobody Knows What to Look At
Mount Batur can be busy, especially around popular sunrise periods.
That creates another photography challenge.
You want the mountain.
But there are people everywhere.
Someone is standing in front of your frame.
Someone else is taking a selfie.
Another person walks across the background.
Suddenly your photograph contains 14 people, three backpacks, two jackets, and one mysterious arm.
The solution is not necessarily waiting for the entire mountain to become empty.
Instead, simplify the composition.
Try:
- Changing your camera angle
- Moving slightly to the side
- Shooting vertically
- Using a closer composition
- Waiting for a small gap
- Including one person intentionally as a subject
- Using silhouettes
Crowds can actually become part of a good travel photograph.
The key is intention.
There is a big difference between:
“I deliberately included the trekkers to show the scale.”
and:
“I accidentally photographed someone's backpack.”
Use People for Scale
A person standing against a large landscape can make the mountain feel bigger.
A silhouette can add atmosphere.
A group walking along a trail can create movement.
You do not always need to remove people.
Sometimes you just need to decide which people belong in your photograph.
8. You Forget That Photography Should Respect the Place
This is the mistake that matters more than getting the perfect shot.
Mount Batur is not a private photography studio.
It is a mountain environment visited by travelers, local guides, drivers, communities, and other guests.
That means your photography should not interfere with other people's experience or the environment.
The brand's responsible-tourism direction specifically emphasizes respecting local communities, keeping trails clean, responsible behavior around natural areas, and following appropriate guidance during Mount Batur activities.
So:
- Do not block the trail for a photograph
- Do not enter restricted areas
- Do not damage vegetation
- Do not leave equipment or rubbish behind
- Do not interfere with local activities
- Follow your guide's instructions
- Give other visitors space
And what about drones?
If you are considering drone photography, check the current rules and restrictions before flying.
Do not assume that because you brought a drone, you can launch it anywhere.
Rules can depend on the location, activity area, and current regulations.
If drone use is restricted, the answer is simple:
Keep the drone in your bag.
A photograph is never worth creating a problem for yourself, other visitors, or the destination.
Bonus Mistake: You Assume Your Camera Can Fix the Weather
This one deserves an honorable mention.
You arrive at Mount Batur expecting a dramatic sunrise.
Instead:
Clouds.
More clouds.
A little fog.
Maybe rain.
Your first reaction:
“My camera settings are wrong.”
Probably not.
Weather affects the entire visual experience.
Cloud cover can change the light.
Fog can reduce visibility.
Rain can affect the trail.
The landscape may look completely different from photographs you saw online.
The brand's guidance is clear that sunrise visibility and weather conditions are variable and should never be presented as guaranteed.
That means you should photograph the conditions you actually get.
Clear Morning
Use the wider landscape.
Look for mountain layers.
Capture the changing light.
Cloudy Morning
Look for atmosphere.
Use silhouettes.
Focus on nearby details.
Misty Morning
Try compositions with depth.
Use foreground elements.
Let the limited visibility become part of the photograph.
A good photographer adapts.
They do not argue with the sky.
Simple Sunrise Camera Settings to Start With
You do not need complicated sunrise camera settings to begin.
If you are using a phone, start with automatic mode and pay attention to exposure.
Tap different parts of the scene.
Compare the result.
If the sky looks blown out, reduce exposure slightly.
If the foreground is too dark and you want more detail, experiment with HDR when appropriate.
If you are using a dedicated camera and already understand manual controls, you can experiment with:
- Lower ISO
- Appropriate shutter speed
- Aperture based on your desired depth of field
- Exposure compensation
- RAW capture if available
But do not experiment with settings for the first time five minutes before sunrise.
Learn the basics before the trip.
The best camera setting is the one you understand.
What Makes a Good Mount Batur Viewpoint Photo?
A strong Mount Batur viewpoint photograph does not necessarily need a spectacular sunrise.
Think about four basic elements:
Light
Where is the light coming from?
Subject
What is the viewer supposed to look at?
Foreground
What gives the image depth?
Composition
Where are the important elements positioned?
For example:
Jeep + volcanic landscape + early light
can create a completely different image from:
Person + trail + mountain + sunrise
Neither is automatically better.
They simply tell different stories.
Trekking Photos vs Jeep Photos
Your chosen Mount Batur experience will naturally influence the photographs you can make.
Trekking
A trekking experience can give you:
- Trail photography
- Walking portraits
- Headlamp silhouettes
- Summit-area landscapes
- Sunrise photographs
- Volcanic terrain
- Journey-focused images
It tells the story of moving toward the mountain.
Jeep
A jeep experience can give you:
- Jeep silhouettes
- 4WD adventure photos
- Sunrise viewpoint compositions
- Black Lava photos
- Volcanic textures
- Wider vehicle-and-landscape shots
The current sunrise jeep itinerary includes a vehicle-accessible sunrise viewpoint followed by Black Lava exploration, making those elements part of the photographic experience.
So if your main goal is Black Lava photos, a jeep itinerary may naturally give you more opportunities around that landscape.
If you specifically want summit photography, trekking is the appropriate option because the jeep does not reach the summit.
Your Quick Mount Batur Photography Checklist
Before leaving the hotel:
- Clean your lens
- Charge your phone
- Charge your camera
- Charge your power bank
- Check storage space
- Bring a small waterproof pouch
- Prepare suitable clothing
- Pack light
During the experience:
- Photograph before sunrise
- Look for foreground elements
- Try different compositions
- Keep your video stable
- Watch your exposure
- Photograph the journey, not only the destination
- Look for volcanic textures
- Respect other visitors
- Follow guide instructions
And most importantly:
- Do not expect the weather to recreate an Instagram photo
The Best Sunrise Photo Is Not Always the Perfect One
Good travel photography is not about making every picture look identical to someone else's.
It is about noticing what is actually happening around you.
Maybe the sunrise is clear.
Maybe clouds cover half the horizon.
Maybe the trail becomes the best subject.
Maybe your friend's silhouette looks better than the landscape.
Maybe the jeep parked against Black Lava becomes your favorite photograph of the entire trip.
That is the beauty of photographing Mount Batur.
The light changes.
The weather changes.
The people change.
Your perspective changes.
So prepare your equipment, but stay flexible.
Clean the lens.
Watch your exposure.
Use the foreground.
Take photographs at different moments.
Keep your video stable.
Charge your battery.
Simplify crowded frames.
And respect the mountain while you photograph it.
You do not need a professional camera to create memorable Bali travel photography.
You just need to be ready when the moment appears.
If you are planning a Mount Batur photography tour, send us your travel date, number of guests, hotel area, and preferred experience. Our local team can help you compare trekking and jeep options, confirm the current route and pickup arrangement, and choose an itinerary that matches the kind of Mount Batur experience you want to photograph.